Revo - Sensor Calibration
Introduction
Todo
screenshot
This panel will allow you to undertake a Manual Calibration of the Senors on the Revolution board.
There is six (6) different Calibrations that can be preformed.
Steps:
- Setting Home Location
- Thermal Calibration
- Accelerometer Bias Calibration
- Magnetometer Calibration
- Board Level Calibration
- Gyro Bias Calibration
Setting Home Location
Warning
You must set your home location before performing the Sensor Calibrations
There is two ways of setting your home location:
- Using GPS Module
- Manually Select
- Go to Flight Data Tab
- Either wait for GPS to goto your home location (using GPS Module) or manually zoom map up to your location (Manual Select)
- Once found, right click on the map and click on Set the Home Location
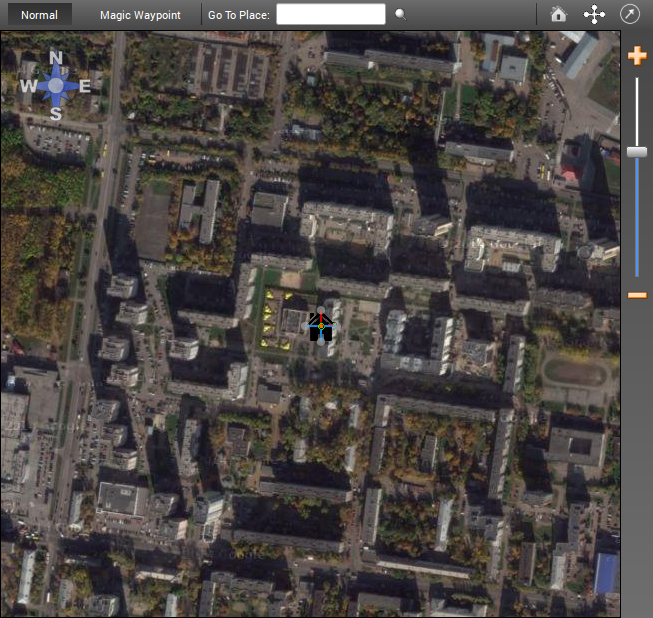
- Enter the Altitude of your home location in metres, click OK
Note
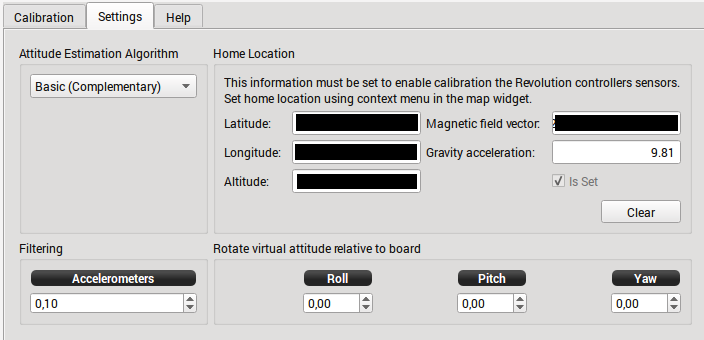
You can check the home location coordinates by going the the Configuration Tab - Attitude/Settings tab
Thermal Calibration
Note
The procedure below outlines the way to thermally calibrate the Revo to meet large temperature changes, it is not essential to put in the freezer as the min and max temp ranges of the calibration only need to be below and above the ambit temps of your location. (approx +- 10/15 deg C above and below)
However if the temperature rises or falls above or below the min/max temps you calibrated at, you will need to redo this calibration, so it is best to use some form of cooling to lower the min start temp and raise above max ambit temps of your location.
Also note this calibration is not needed, but will improve the performance of your board.
- Plug your USB cable into your Revo. Start the OP GCS and ensure that you have disabled the OPLink modem (i.e. Max Power = 0). Then Save and Disconnect. Remove USB cable from computer but leave Revo plugged in.
- Put your Revo in a plastic bag and seal it reasonably well, but with the USB cable exiting the baggie so it can be plugged in the computer.
Note
The bag is because we are going to freeze Revo and it will get condensation on it if we don’t do this.
For added temperature range (higher temperatures) you might build a very simple hot box out of a low wattage incandescent light and a shoe box. You also might consider just wrapping Revo up in a good insulator, like a warm lightweight modern jacket. You could also set it out in the hot sun in the summer if you can plug it into USB at the same time.
- Put Revo/baggie/cable in the freezer for 20 minutes or so.
- Take it out, put it in the hot box or wrapped up or in the sun, or not...
Immediately start the thermal calibration.
- Don’t move it at all while calibrating is best (gyros and baro are being calibrated).
- Don’t allow your home heater or air conditioner fan to run while doing this is best (air pressure changes).
- Don’t open or close any doors in the house is best (air pressure changes).
- Don’t do this on a windy day (chimney, etc.).
- Don’t do this on a stormy day (rapid changes in barometer).
- Don’t play 1812 Overture or let your sister dance in the next room is best (:)).
Note
All these “is bests” aren’t critical though. I understand that the large number of samples taken masks a few bad samples.
- Watch the thermal calibration and unplug the light bulb when it gets within a few degrees of your desired high temperature (i.e. 10-15 deg above what hottest day in your location).
- If it finishes thermal calibration before reaching your desired temperature, you can start over or use what you have.
- Save your thermal calibration with the Save button in the lower right.
Note
You can check the temperature min-max (temp_calibrated_extent). Go to the System Tab then Settings/AccelGyroSettings/temp_calibrated_extent. You can then see the min & max calibrated temps (below is screen shot of uncalibrated board showing 0 for both min & max, once calibrated you will see your boards min & max temps)
Todo
screenshot
Accelerometer Calibration
Warning
During this calibration the board MUST remain perfectly still during each position calibration. Even vibrations on a table or someone walking past could upset the calibration.
- On the Calibration Tab, click start “Accelerometer calibration”.
- Place the board as shown in the picture on screen and click Save Position.
...
- If the calibration failed, you will see above, you will need to restart the accelerometer calibration over.